Encrypt email attachments with PDF-XChange Editor
Instructions for encrypting email attachments with PDF-XChange Editor
To improve information security, when you use email to transmit confidential or sensitive information, you should encrypt the attachment before sending it.
This article explains how to encrypt files, how to add signatures and watermarks:
PDF-XChange Editor is a feature-rich software that currently provides operation instructions for three functions, namely
- Required software tools: PDF-XChange Editor
- Download location:Go to the official website https://www.pdf-xchange.com/product/downloads
一、Encrypt PDF
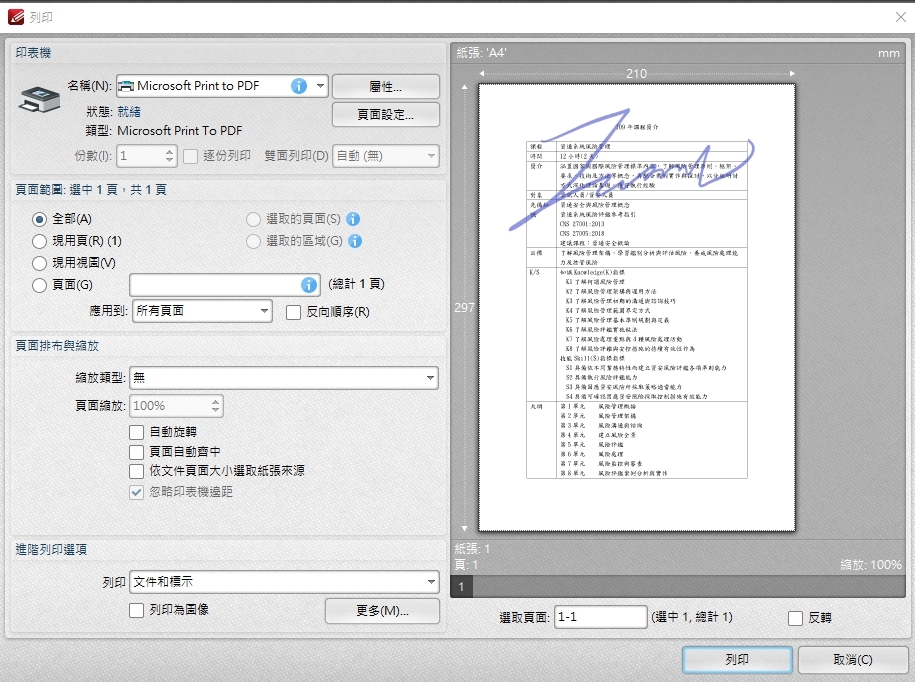
- How to make a file into a pdf file:
Here we take word as an example. Similar methods apply to other types of files.
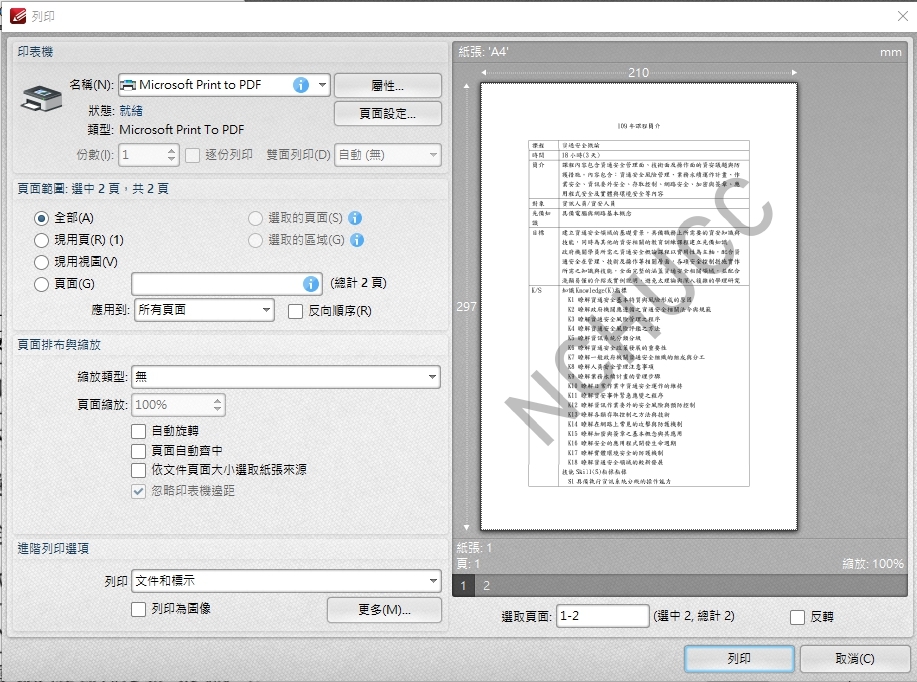
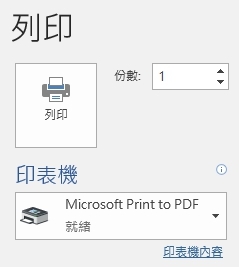
After selecting [File] > [Print] in word, select [Microsoft Print To PDF] on the printer and then click [Print]. After selecting the file storage location, the pdf file can be generated.
- During the encryption process using PDF-XChange Editor, two passwords need to be set to maintain the security and integrity of the file.
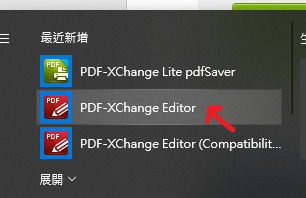
- The following are the steps to start, open PDF-Xchange Editor
4. Open the file for which you want to set a password
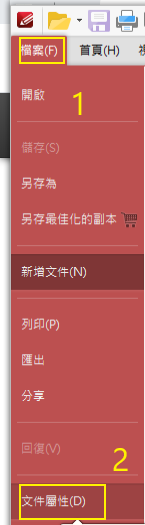
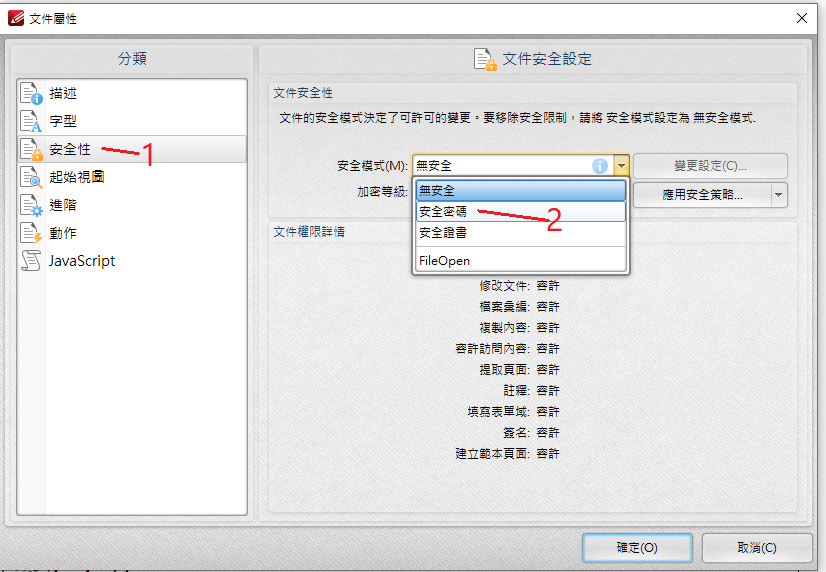
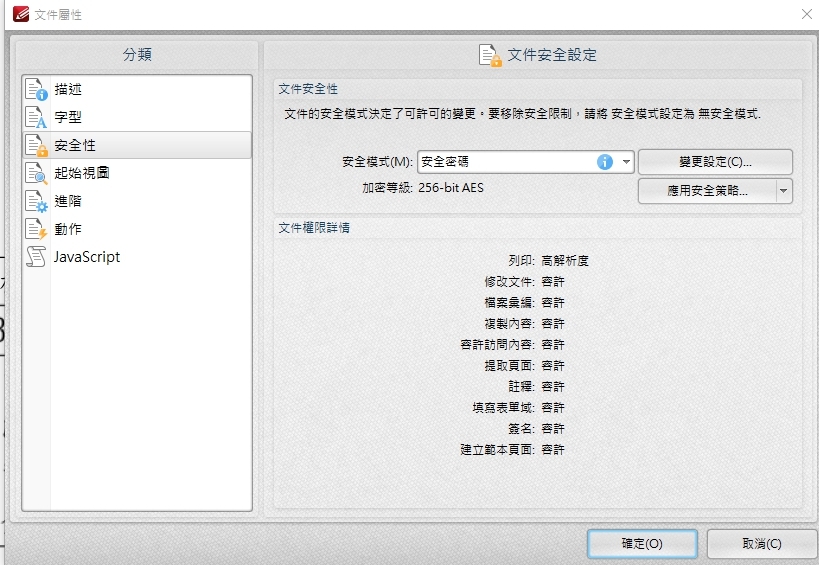
⇒ Click File on the toolbar ⇒ Select File Properties
5. The file properties window appears ⇒Select Security ⇒ Select Security Password in the Safe Mode drop-down menu
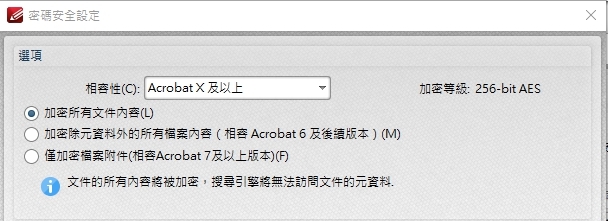
6. Password security settings appear ⇒ Compatibility (recommended to select X and above)
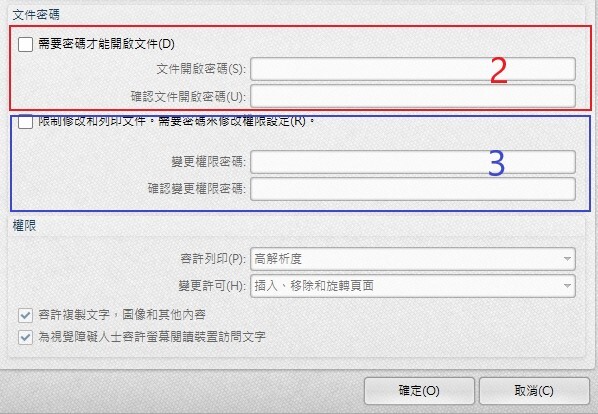
7. There are two types of file passwords ⇒ The red box is the password set to open and browse this file ⇒ The blue box is to set the password to modify and print this document
The two passwords cannot be set the same
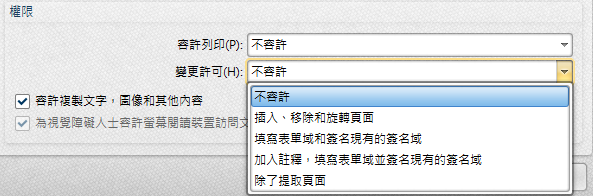
8. If you select "Not Allowed" in the Permissions (Print) area, the user is not allowed to perform any operations except reading the document. When setting the printing permission to "High Resolution" or "Low Resolution", you will not be prompted to enter a password.
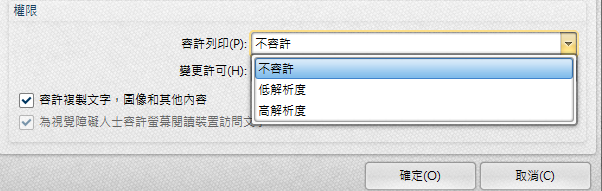
9. If you select "Do Not Allow" in the Permissions (Change) section, these functions will not prompt for a password, they will only be grayed out and unavailable.
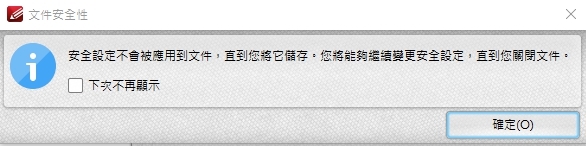
10. After completing the settings, press OK twice
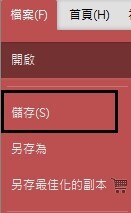
11. Then save the set file
-
A lock icon appears, indicating that the file has been encrypted and protected.
![]()
二、Signature document
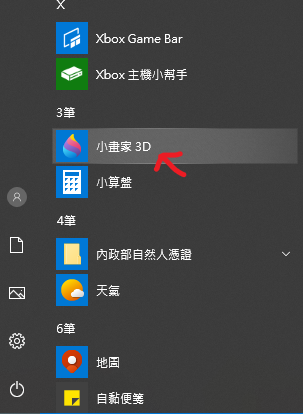
1. Start Little Painter
2. Create a signature file and save it in *.gif or *.png format

3. Open PDF-Xchange Editor
4. Open the file to be added to the signature file

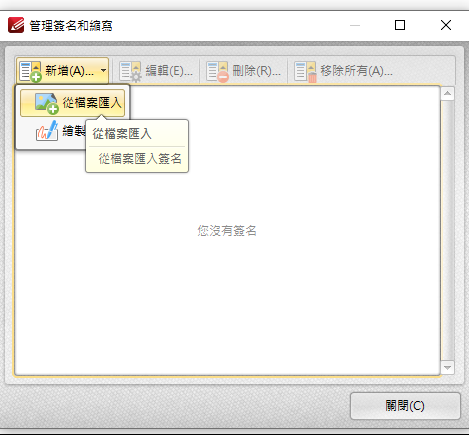
5. Taking a PDF file as an example, first import the signature file => Select Protect => Then select Manage

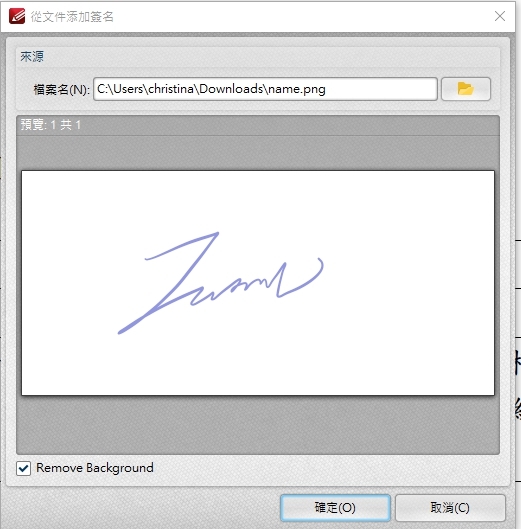
When the following window appears, load the edited signature file

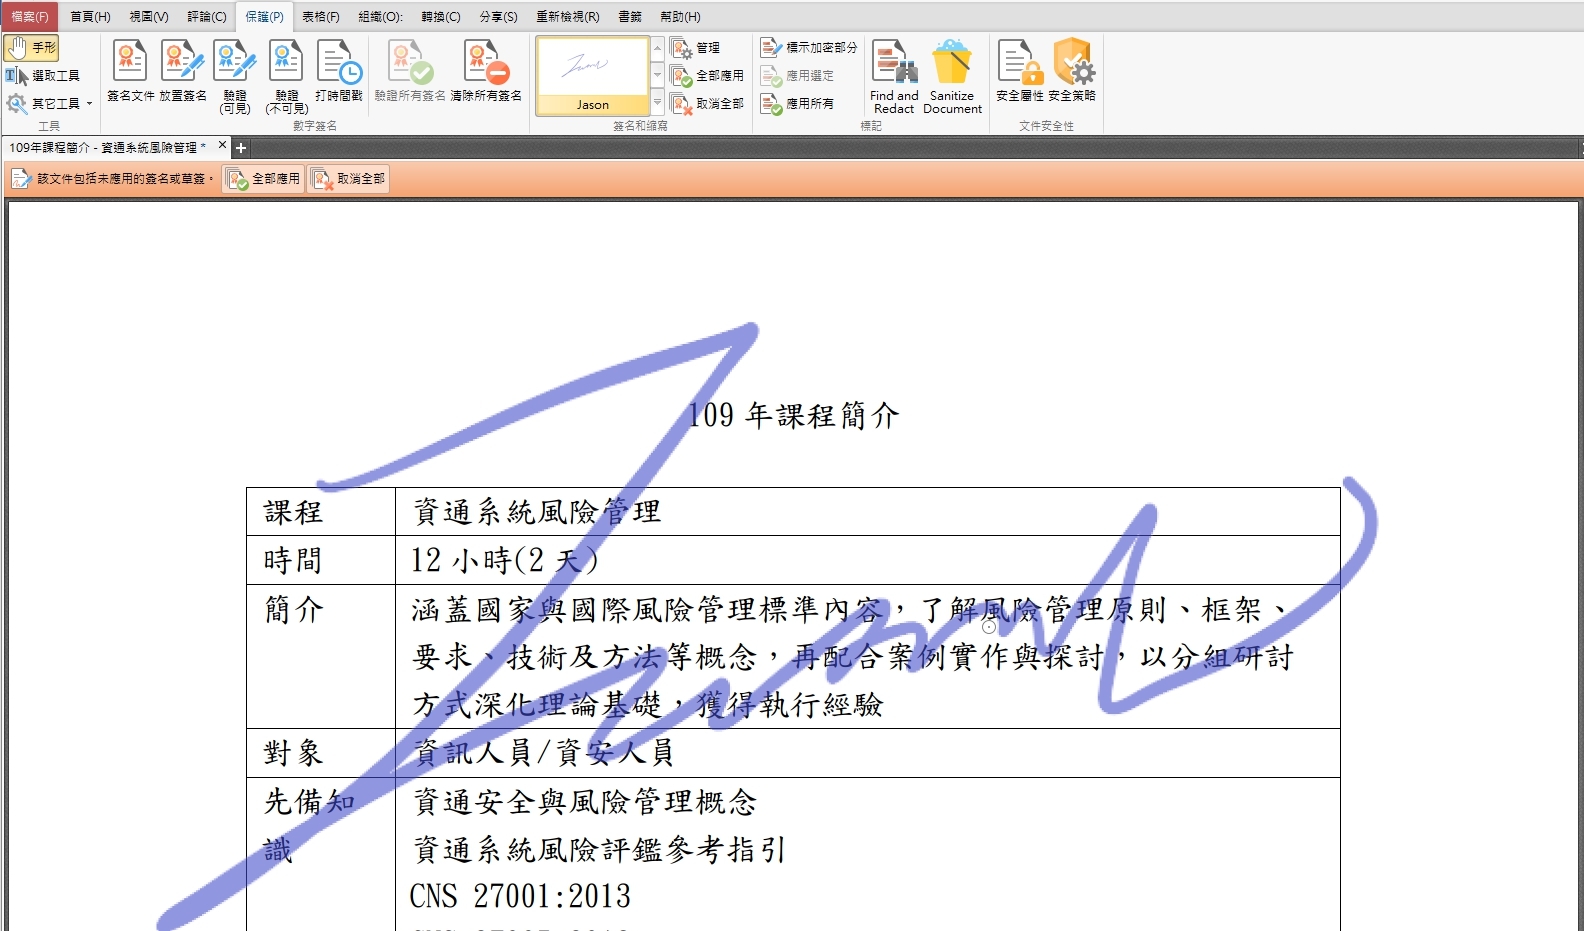
6. After placing the file signature, click File => Print (select Microsoft Print to PDF as the printer) => to complete the PDF with the signature file
三、Add watermark
1. Open PDF-Xchange Editor
2. Open the file to which you want to add the watermark
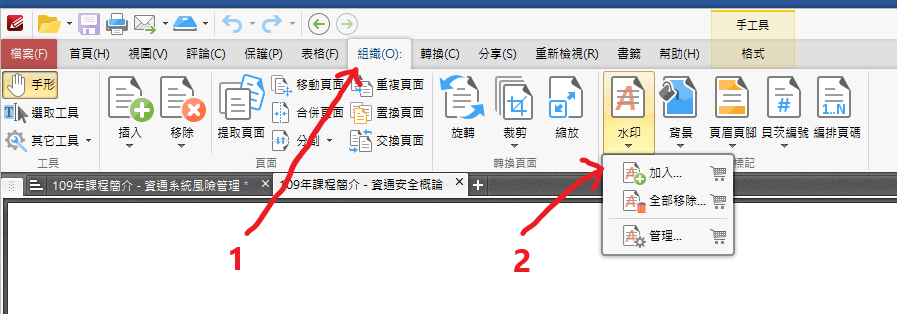
3. Take the PDF file as an example, select Organization ⇒ Watermark ⇒ Add
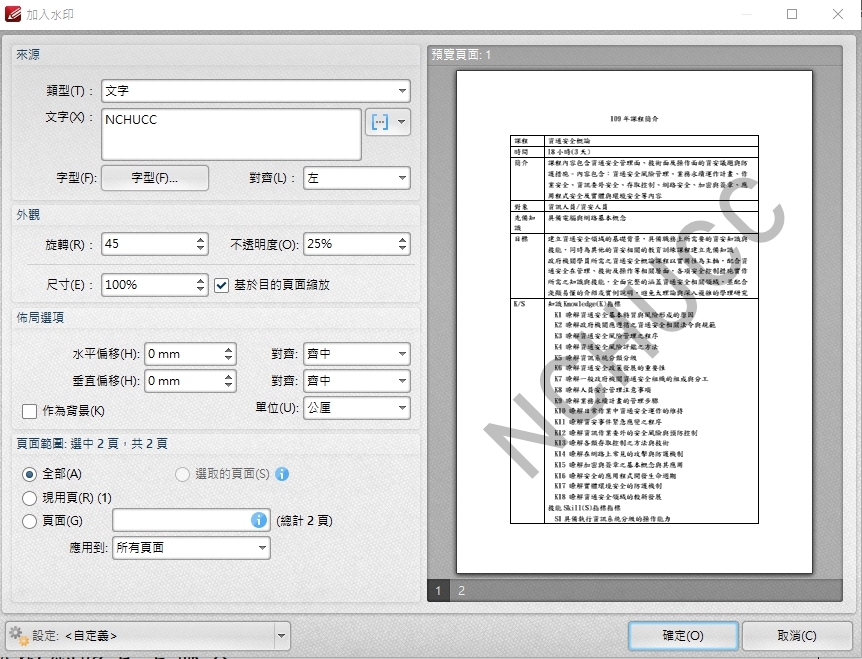
4. After placing the watermark on the file, click File ⇒ Print (select Microsoft Print to PDF as the printer) ⇒ to complete the PDF with the watermark